
Planning a Walk-In Cooler for a New Restaurant: A Checklist
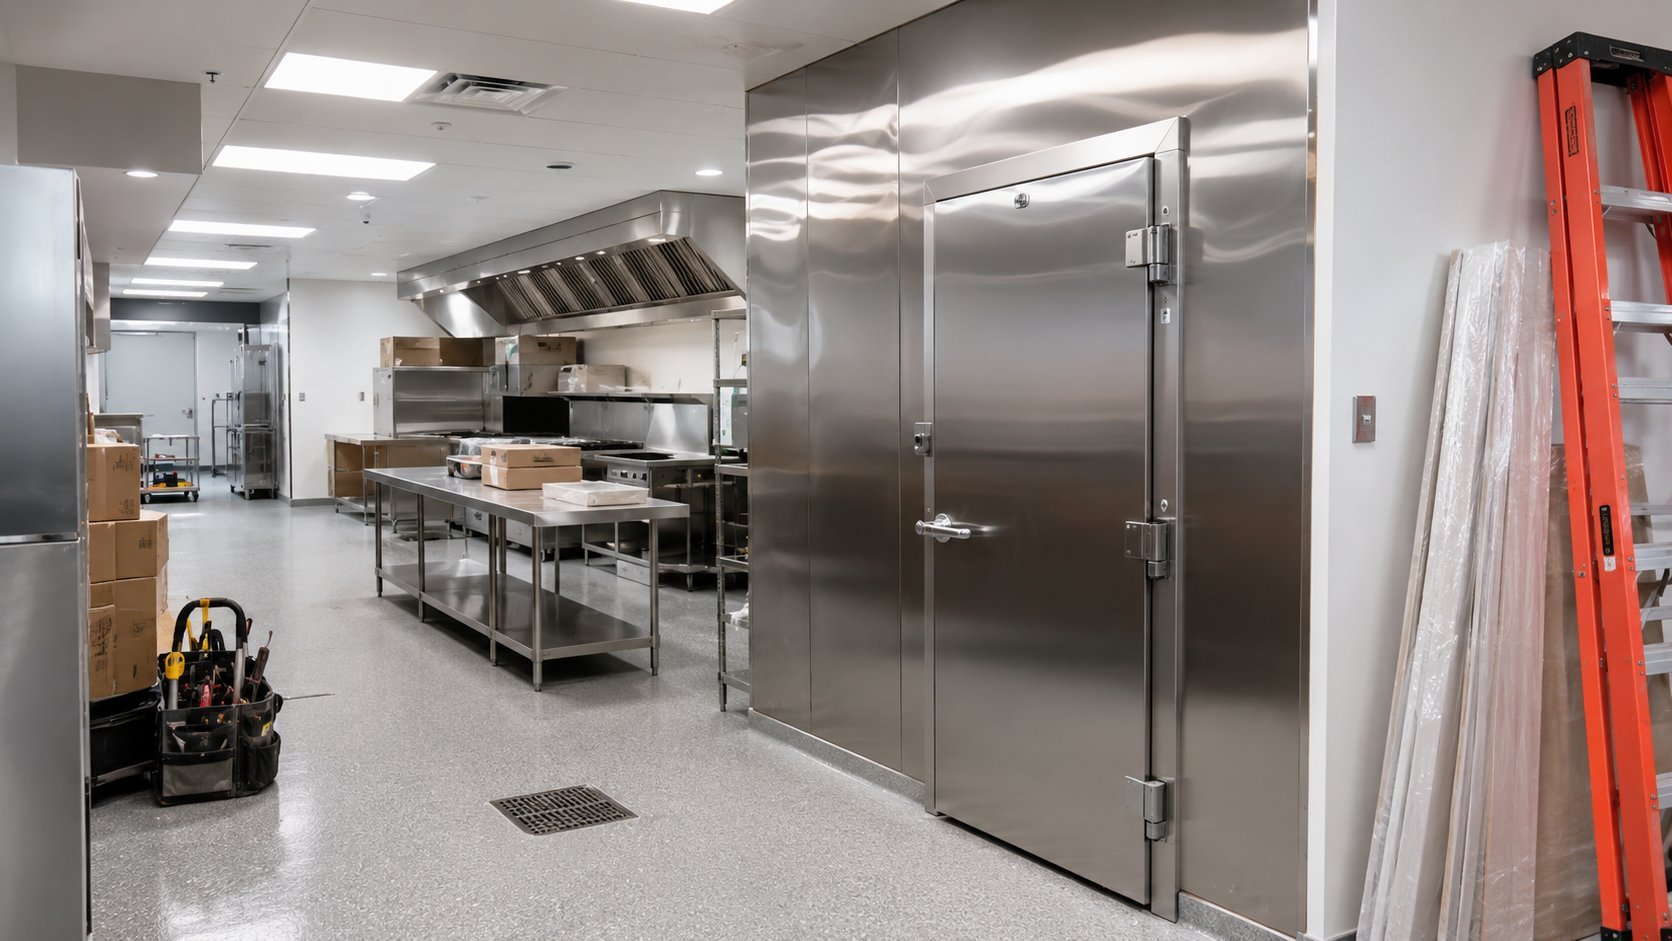
Every new restaurant has a critical path, and the walk-in cooler sits on it more often than owners expect. Health approval needs working cold storage. Opening inventory needs somewhere to land. And the trades that make a cooler work, electrical, refrigeration, sometimes plumbing, all have to be sequenced with the rest of the build-out.
Plan the cooler early and it is just another line on the schedule. Plan it late and it is the reason opening slips. Here is the checklist, from a team that has put cold storage into new builds across the GTA since 2013.
Decide placement before the walls go up
The cooler's location is a workflow decision first. Close to receiving, so deliveries land cold without crossing the kitchen. Close to prep, so the line is steps away from stock. Out of the customer sightline, with door swing that does not fight the corridor.
Placement also has technical needs: a route for refrigeration lines, somewhere for the condensing unit to reject heat, drainage for the evaporator, and floor structure that can carry the room. Deciding this while the space is still open studs costs nothing. Deciding after the drywall costs change orders.
Power and drainage are long-lead items
The two site services that stall cooler installs are electrical capacity and drainage. Confirm the panel has the capacity and the right circuits early, because service upgrades take time. Confirm where condensate will drain before the floor is finished. Your installer will spec both at the site survey; getting that survey done early is the single highest-leverage move. A professional walk-in cooler installation starts with exactly this.
Size it for the menu, not the floor plan
New builds tempt owners to give the cooler whatever corner is left. Flip it: the cooler is sized from the menu, the covers, and the delivery schedule, then the floor plan makes room. Our sizing guide walks the math; the short version is stock at peak plus delivery gap plus growth margin.
Remember the split between cooler and freezer. Menus heavy on fresh product lean cooler; menus that batch, prep, and freeze lean freezer. Combo builds put both behind shared walls and usually save space in a tight back-of-house.
Budget the whole scope
The cooler line in your budget should carry the full scope: the room, the refrigeration, delivery, install, electrical connection, and commissioning. We broke down what drives the cost in our pricing guide. The honest budgeting rule for a new build: get the written quote from the site survey early, so the number in your spreadsheet is real instead of borrowed from a forum.
Sequence it with the build-out
A cooler install has a natural slot in the construction sequence: after the slab and rough services, before the finished kitchen fills the space. The room itself goes up fast; it is the coordination that needs lead time. Fabrication happens while your other trades work, then panels arrive, the room is assembled, refrigeration is set and commissioned, and the room proves its temperature before inspection day. The step-by-step is in how an installation works.
Book the installer when you have drawings, not when you have keys. The projects that go smoothly are the ones where the cooler builder and the general contractor are talking early.
Inspection-ready from day one
Health approval wants to see cold storage that holds temperature, thermometers in place, and surfaces that clean. A commissioned room passes that conversation easily. A rushed install the week before inspection is how openings slip. Build the cushion in.
The opening-day checklist
Before opening: room commissioned and holding its numbers for a full day. Thermometer visible and accurate. Shelving installed, off the floor, with raw-below-ready layout planned. Door closing and sealing on its own. Staff walked through the load-in plan so opening inventory lands in an organized room, not a pile.
Get those five things done a week early and the cooler is the one part of opening you will not think about.
FAQ
When should I order the walk-in cooler for a new restaurant?
When you have drawings. Early booking lets the site survey, electrical, and drainage planning happen while the space is still open, and fabrication runs parallel to your other trades.
Where should a walk-in cooler go in a restaurant?
Between receiving and prep, out of the customer sightline, with space for door swing, refrigeration lines, heat rejection, and drainage. Placement is a workflow decision with technical requirements attached.
What does the cooler need from the building?
Electrical capacity with the right circuits, a drainage path for the evaporator, structure for the room's weight, and a route for refrigeration lines to the condensing unit.
How long does a walk-in cooler install take in a new build?
On-site assembly and commissioning are fast once fabrication is done. The real timeline is the coordination: survey, design, fabrication, and the slot in your construction sequence. It is confirmed in the quote.
What will the health inspector check on the cooler?
That it holds safe temperatures, has an accurate visible thermometer, and has clean, cleanable surfaces and storage layout. A commissioned room passes this comfortably.
Do you work with contractors during build-outs?
Yes. The smoothest projects are the ones where we coordinate directly with your GC on sequencing, services, and inspection timing.
Opening a restaurant in the GTA? Get the cold storage planned before it lands on your critical path. Titan designs, builds, and installs walk-in coolers for new builds, 500+ installs since 2013. Request a free quote or call (416) 896-7153.