
Walk-In Cooler Drainage and Condensate Planning Before Installation
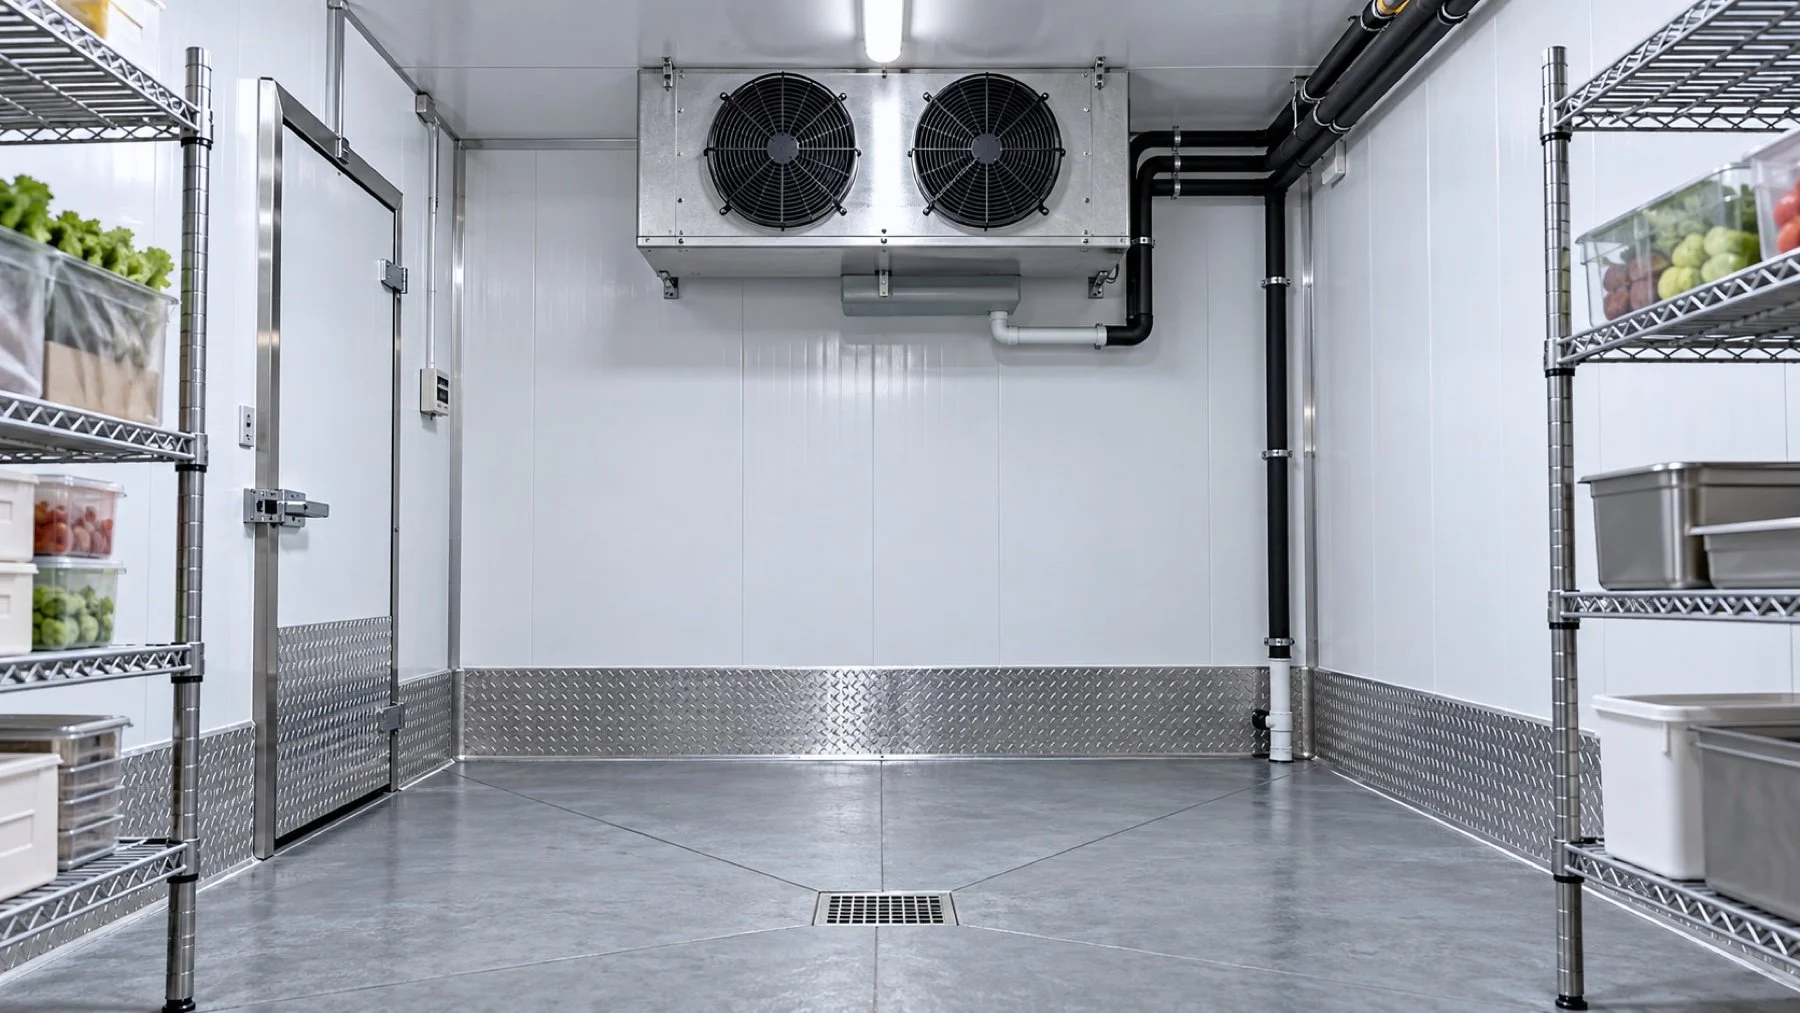
Walk-in cooler drainage must account for two different water sources: condensate from the evaporator and water introduced during cleaning or operations. They may not use the same route. Titan reviews the equipment, panel penetrations, floor and approved discharge before installation so the finished system drains without compromising the enclosure.
- Trace the evaporator drain from pan to discharge
- Keep traps and vulnerable piping out of freezing zones
- Treat panel penetrations as part of the envelope
- Separate condensate from floor-cleaning strategy
- Test flow before the project closes
Trace the evaporator drain from pan to discharge
The unit cooler collects water during normal cooler operation and during defrost. Its drain line needs continuous pitch, adequate diameter and a route that stays serviceable. The current Heatcraft unit-cooler manual calls for at least 1/4 inch per foot of pitch, a line at least as large as the drain connection, a trap on each evaporator before tee connections, and discharge to an open drain rather than a direct sewer connection.
Keep traps and vulnerable piping out of freezing zones
A trap filled with water can freeze when it sits inside low-temperature space. The manufacturer guidance places traps in a warm ambient and calls for drain piping to be protected from freezing. Freezer applications may need a heater and insulation selected for the route. The heat source, circuit and controls must be coordinated with the electrical plan.
Treat panel penetrations as part of the envelope
A drain that passes through an insulated wall or ceiling creates a potential air and vapour leak. Set the penetration before assembly when possible. Seal it with a compatible detail and keep it clear of panel locks and structural edges. Titan plans these interfaces with the cam-lock cold-room panels.
Separate condensate from floor-cleaning strategy
An evaporator drain does not solve washdown or spill management. Confirm whether the room needs a floor drain, curb, sloped floor, waterproof finish or another approved cleaning approach. The answer depends on use, local requirements and the surrounding building. Avoid sending cleaning water into an equipment drain that was never designed for it.
Test flow before the project closes
After piping is installed, verify pitch, trap arrangement, supports, freeze protection and actual flow. Look for standing water in the drain pan and leaks at every joint and penetration. Include drainage in the commissioning record for the walk-in cooler installation. For low-temperature work, coordinate the route with the custom walk-in freezer design, then book a site measurement.
Source check: Specifies drain material, minimum pitch, trap location, open drain and freeze protection. Review Heatcraft unit cooler installation manual.
Drainage planning questions
Does every walk-in cooler need a floor drain?
Not necessarily. The need and permitted arrangement depend on the room use, cleaning plan and local requirements.
Where should an evaporator condensate line discharge?
Follow the equipment instructions and local plumbing requirements. The cited unit-cooler manual specifies a trapped line to an open drain, not a direct sewer connection.
How much pitch should the condensate line have?
The cited Heatcraft manual specifies a minimum 1/4 inch per foot for its unit coolers. Final installation must follow the selected equipment manual.
Why must a freezer drain be protected from freezing?
Water remaining in the line or trap can freeze, block drainage and cause the pan to overflow.
When should drain penetrations be planned?
Plan them before panel fabrication and installation so location and sealing can be coordinated.
Map each source of water to an approved discharge point before panels arrive. Titan can flag the cooler and refrigeration drainage interfaces during the site survey.